Proper ventilation is crucial for maintaining a fresh, dry, and comfortable campervan. Without it, moisture buildup, mould, and stale air can quickly become a problem. This guide provides practical solutions for how to ventilate a campervan effectively using a combination of passive and active methods, including windows, roof vents, and floor vents. By ensuring consistent airflow, you can create a healthier and more comfortable living space on the road.
Passive Ventilation: Leveraging Natural Airflow
Opening Windows: The Basics of Quick Ventilation
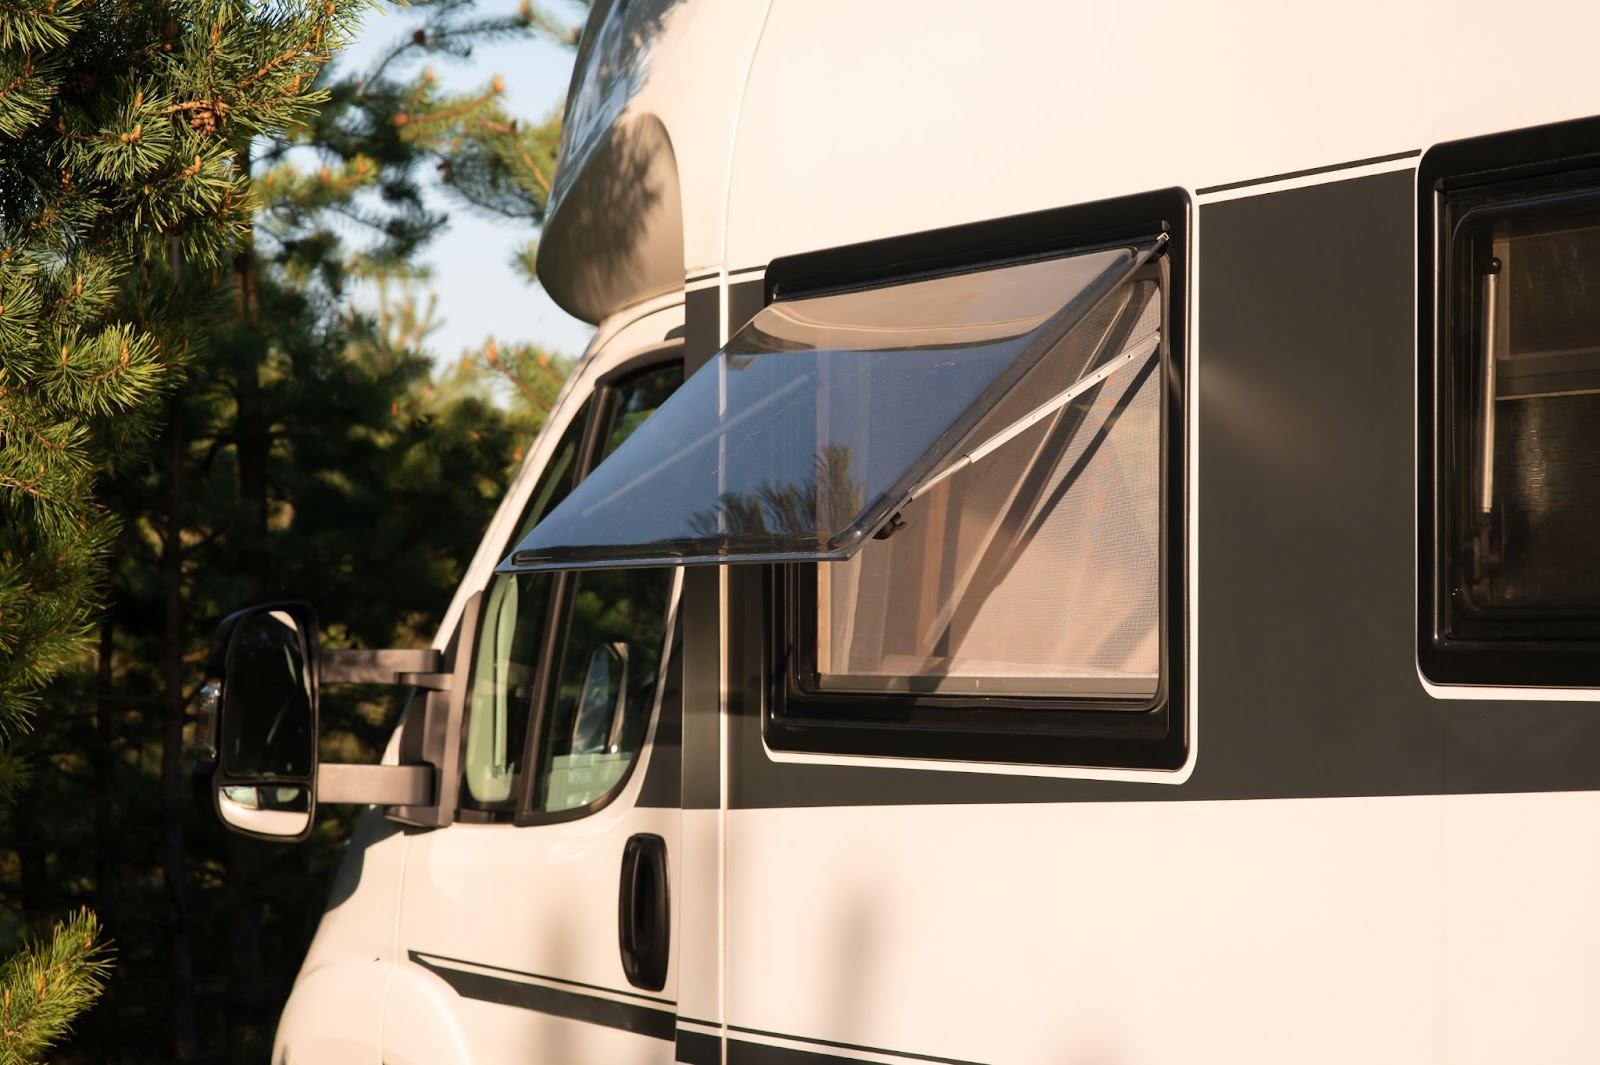
One of the easiest and most cost-effective ways to ventilate your campervan is by opening the windows. This simple action can make a significant difference, especially when dealing with moisture from cooking, showering, or just the humidity that naturally builds up in a confined space.
- Cab Windows: Opening the cab windows is a quick fix, but it’s less effective for larger vans. Additionally, it leaves your van unsecured, so it's not ideal for when you're away or overnight.
- Additional Windows: Adding windows near areas like the kitchen can significantly improve airflow, helping to expel steam, cooking smells, and excess moisture. The more strategically placed windows, the better the natural airflow.
- Skylights: Skylights are an excellent option, particularly ones with built-in ventilation systems like the domestic range. These not only let in natural light but also help with ventilation, improving both airflow and the overall feeling of space in your van.
Using Vents for Optimal Airflow
While opening windows is an effective method, additional vents provide enhanced airflow, especially in warmer or more humid climates. A good mix of passive and active ventilation is essential.
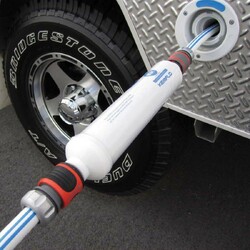
- Roof Vents: Roof vents, especially non-powered options like the Fiamma Vent, allow for continuous ventilation. They are typically fitted with a mosquito screen, which is perfect for keeping the insects out while letting the air circulate freely.
- Skylight Vents: If you install a skylight with a built-in vent, it can serve two purposes: it adds natural light and boosts airflow. In warmer climates, this can make a noticeable difference to your comfort.
Active Ventilation: Using Powered Solutions for Better Air Circulation
Roof Vents with Fans: Bringing in Fresh Air
In addition to passive roof vents, installing a powered roof vent will ensure better air circulation, especially in warmer climates. Powered fans are perfect for drawing in fresh air and pushing out stale, warm air.
- Non-Powered Roof Vents: If you don’t want to rely on your van’s battery, non-powered roof vents are a great option. They provide consistent airflow without needing electricity, making them a reliable choice for those who prefer simplicity.
- Powered Roof Vents: For more robust ventilation, powered roof vents are ideal. They not only pull in fresh air but also actively remove hot, stuffy air, which is especially useful in areas with high humidity or during cooking.
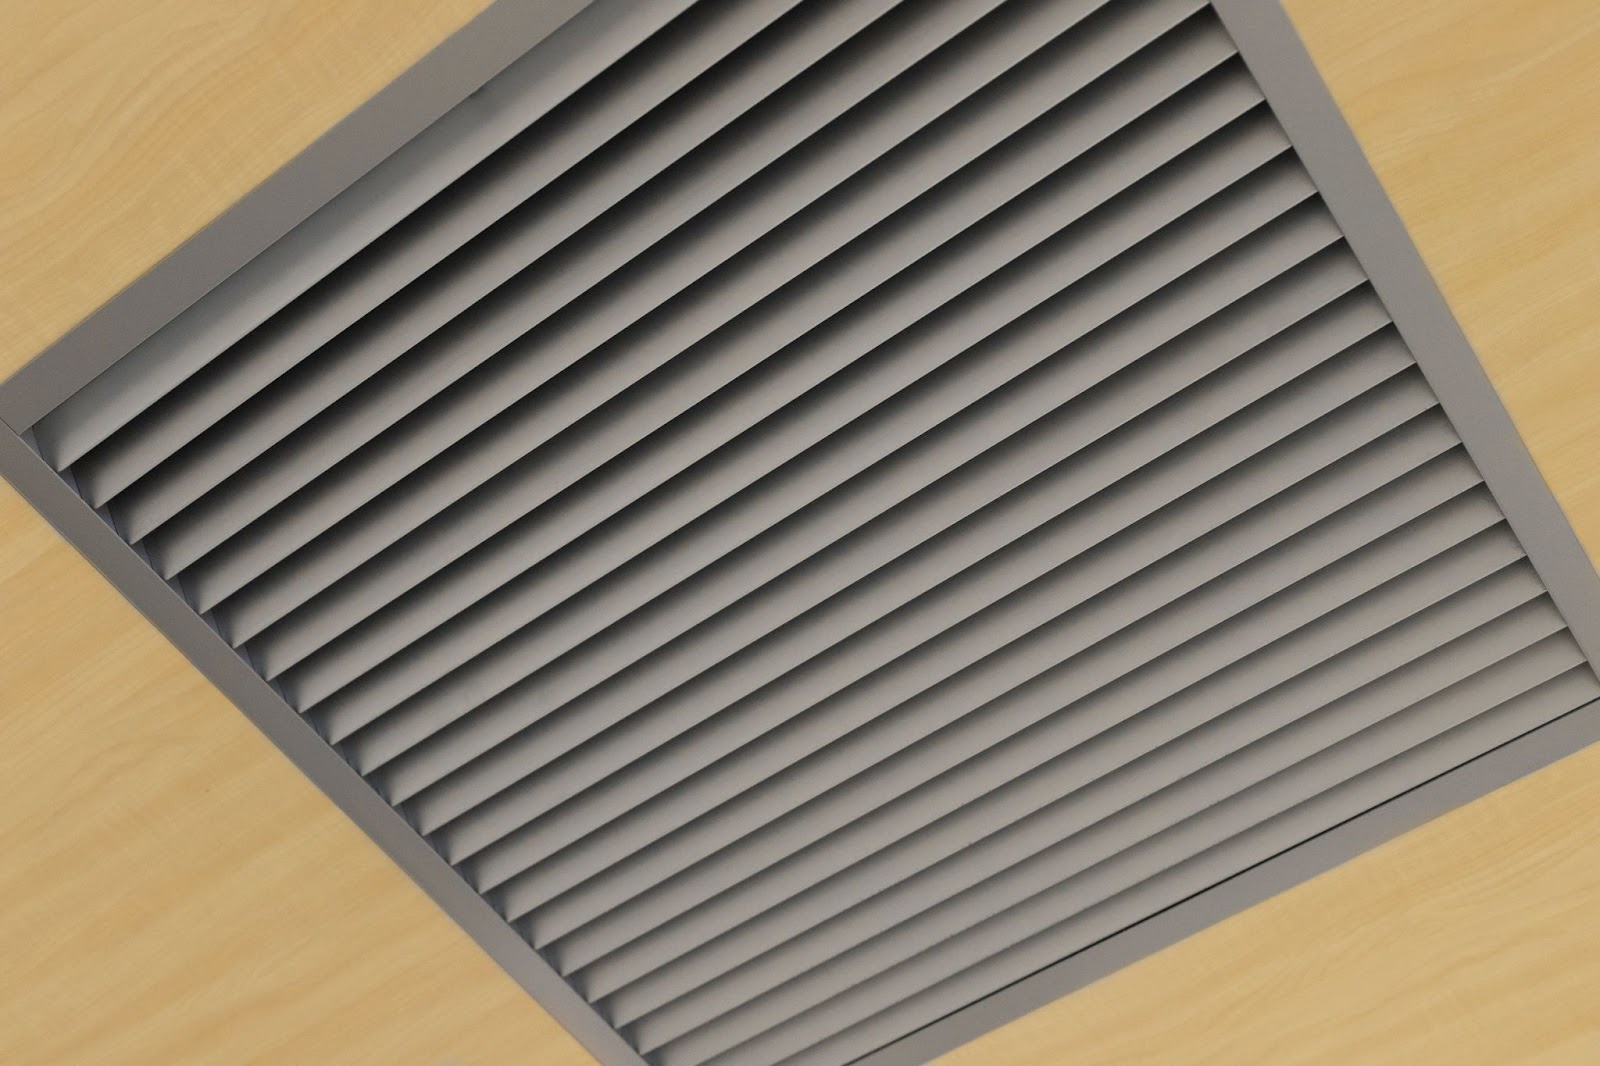
Floor Vents: Encouraging Natural Air Circulation
Floor vents are a great way to improve airflow in your campervan. These vents work by drawing cooler air from outside through the floor and letting the warm, stale air escape via the roof vents.
- Creating a Natural Airflow: Floor vents can help establish a natural circulation pattern within the van. The cool air enters from below, while the warm air rises and exits through the roof, creating a continuous, refreshing flow of air.
Window Deflectors and Vent Grills: An Added Layer of Ventilation
Window deflectors and vent grills are useful when you need to ventilate without opening windows fully. This can be particularly important for security reasons or when you don’t want to leave your windows open when it’s raining.
- Security Considerations: These options allow you to keep windows slightly open, maintaining airflow while still protecting your van from theft or unwanted pests.
- Smaller Vans: Smaller campervans may benefit from using these deflectors, as they can be an efficient and cost-effective solution for ventilation when space is at a premium.
Managing Moisture: Essential Tips for Keeping Mould at Bay
Moisture Control: Why It’s Crucial
One of the biggest challenges when living in a campervan is moisture buildup. Whether from cooking, showering, or the simple act of breathing, moisture can accumulate quickly, leading to a damp, uncomfortable living environment. Left unchecked, this moisture can promote the growth of mould and mildew.
- Prevent Mould Growth: Without proper ventilation, your campervan can become a breeding ground for mould. By ensuring that air can flow freely, you help prevent moisture from settling and causing damage to your van’s interior.
- Drying Clothes: When you’re off the grid, drying wet clothes inside the van can quickly raise humidity levels. Be sure to ventilate properly to avoid condensation, especially in the evening when temperatures drop.
The Importance of Cross-Ventilation
Cross-ventilation is one of the most effective ways to promote airflow throughout your campervan. By opening windows and roof vents on opposite sides of the van, you create a breeze that naturally moves through the space, helping to remove excess moisture and heat.
- Maximising Airflow: Positioning your windows and roof vents across from each other is key to creating a natural breeze, which is vital for managing both temperature and moisture.
- Effective at All Times: Cross-ventilation works best when you’re parked in an area with a slight breeze, but it’s also effective when you’re stationary. Just make sure that the airflow path is not obstructed by walls or furniture inside.
Considerations for Cooking and Washing Up Inside Your Campervan
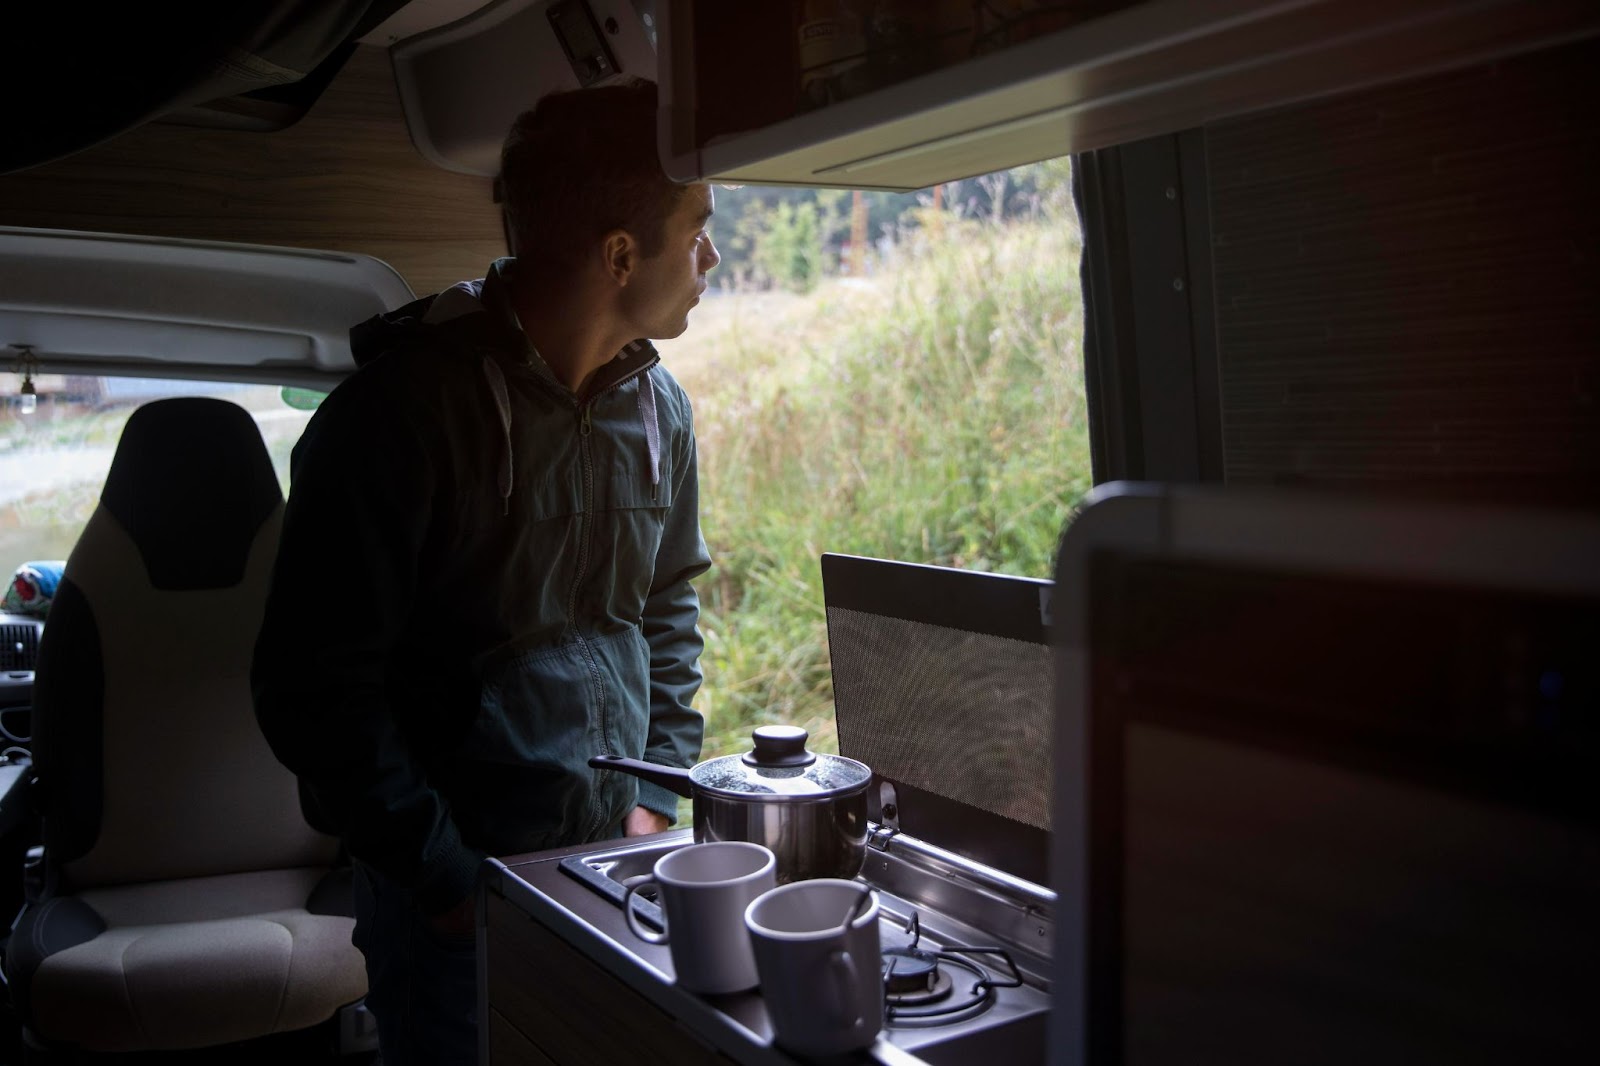
Cooking: Managing Steam and Heat
Cooking inside a campervan creates a lot of steam, moisture, and heat. A robust ventilation system is necessary to expel these unwanted byproducts. Without proper airflow, your van will soon feel stuffy and unpleasant.
- Powered Roof Fans: If you frequently cook indoors, especially using gas appliances, a powered roof fan is invaluable for sucking out steam and heat quickly.
- Positioning: Try to position cooking equipment, like your stove or oven, near windows or vents so that any moisture produced has a clear exit route. This will also help prevent lingering food smells.
Washing Up: Keeping Moisture in Check
Whether you're washing dishes or cleaning up after a long day’s adventure, doing so indoors generates moisture. To maintain a comfortable, dry atmosphere, make sure your ventilation system is up to the task.
- Shower and Kitchen Areas: These areas are most prone to moisture accumulation, so they should be prioritised when setting up your campervan’s ventilation system. If you have a shower, it’s essential to have a vent above it to allow steam to escape immediately.
Security and Safety Considerations When Ventilating Your Van
While ventilation is important, it's equally essential to keep security in mind. Leaving windows open or vents uncovered can make your van more vulnerable to break-ins or theft.
- Security Screens: If you're leaving windows or vents open, consider adding security screens that still allow airflow but protect your van from unwanted intruders.
- Vent Deflectors: These can also be used to help secure the van while still letting fresh air in, providing a balance between ventilation and safety.
Managing Battery Usage When Using Powered Fans
Many campervans now come equipped with powered roof fans or vents to improve airflow. While these are effective, they can also drain your battery, especially if you're relying on them constantly.
- Solar Panels: To prevent your battery from running dry, consider installing solar panels that will provide power for your ventilation system without draining your main battery.
- Energy-Efficient Systems: If you're frequently off-grid, invest in a low-power ventilation system that uses minimal energy, allowing you to enjoy the benefits of fresh air without worrying about power consumption.
Final Thoughts
In conclusion, understanding how to ventilate a campervan is crucial for maintaining a comfortable and healthy living space. Combining passive and active methods like opening windows, adding roof vents, and installing floor vents ensures proper airflow, moisture control, and overall comfort. This approach prevents issues like mould, condensation, and unpleasant odours, keeping your campervan fresh and inviting. By adjusting your ventilation system to suit your specific needs and climate, you can create a safe and enjoyable environment for all your travels.